
If you’re setting up a TP-Link Deco mesh router, you can quickly configure your router to access internet using just the Deco app. Here are the step-by-step guide:
TP-Link Deco Router Network Setup Guide
1. Download and Install the Deco App: Search for “TP-Link Deco” on Google Play or the Apple App Store and install it on your phone or tablet.

2. Log in and Create a TP-Link ID: Open the Deco App and log in using your TP-Link ID. If you don’t have an account, register a new one.
3. Connect the Deco to Your Modem: Turn off your modem, then use an Ethernet cable to connect the Deco to the modem. Turn both devices back on. If you don’t have a modem, simply plug the wall Ethernet cable directly into the Deco router.

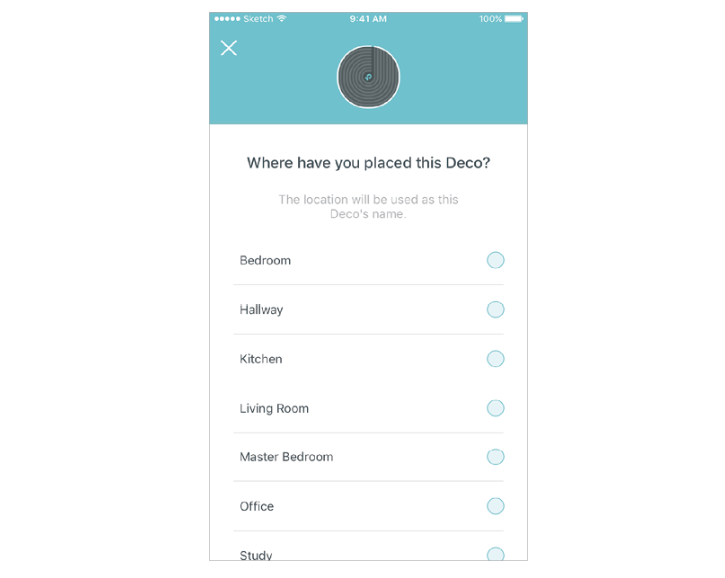
4. Select Node Location: Follow the app prompts to add your Deco device and assign it a location, such as Living Room or Bedroom. If the preset options don’t match, you can create a custom location.
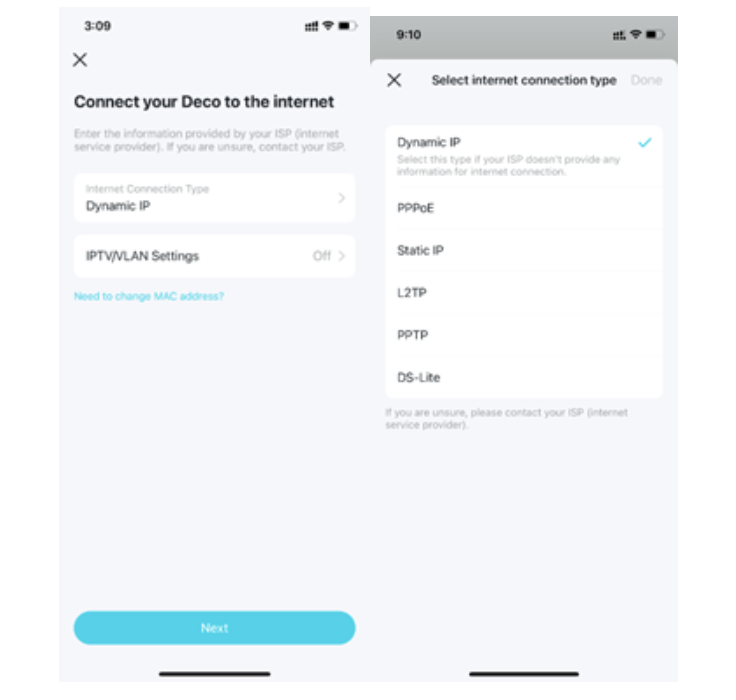
5. Select Network Connection: The app will automatically detect your internet connection type, such as PPPoE, Dynamic IP, or Static IP. If prompted, enter your ISP-provided username and password accurately; otherwise, the Deco will not be able to connect to the internet.
6. Create Your Wi-Fi Network: Set a Wi-Fi network name (SSID) and a password. Once configured, your phone’s previous Wi-Fi connection will be disconnected, and you’ll need to manually reconnect to the new network in your device’s Wi-Fi settings.

7. Add Additional Deco Nodes (Optional): To expand coverage, power on the extra Deco units and tap “Add Another Deco” in the app to continue setup.

8. Check Network Status and Finish Setup: Once the app shows your network is online, tap “Finish” to complete the setup process.


