Zyxel routers and DSL modem devices typically use 192.168.1.1 as the default admin login address. As long as your smartphone or computer is connected to the router’s network, you can enter this IP in a browser to access the admin page, where you can change WiFi settings, update the password, or check your network status.
In some home networks, an upstream modem may also use 192.168.1.1. In that case, your Zyxel router may be assigned a different IP such as 192.168.2.1 or another subnet. To find the correct router login IP, check the Default Gateway / Router / Gateway in your device’s network settings—this is the actual router login address.
How to Log In to a Zyxel Router at 192.168.1.1
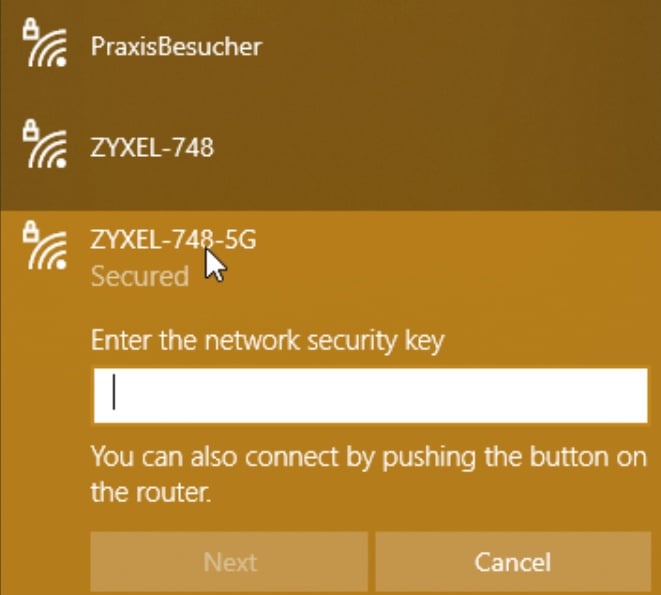
1. Connect your computer to the router using an Ethernet cable via the LAN port, or connect your smartphone to the router’s WiFi network. You can connect using either the 2.4GHz or 5GHz band. Zyxel networks are usually labeled like Zyxel_XXXX. If you’ve renamed the WiFi before, connect to your custom SSID instead.
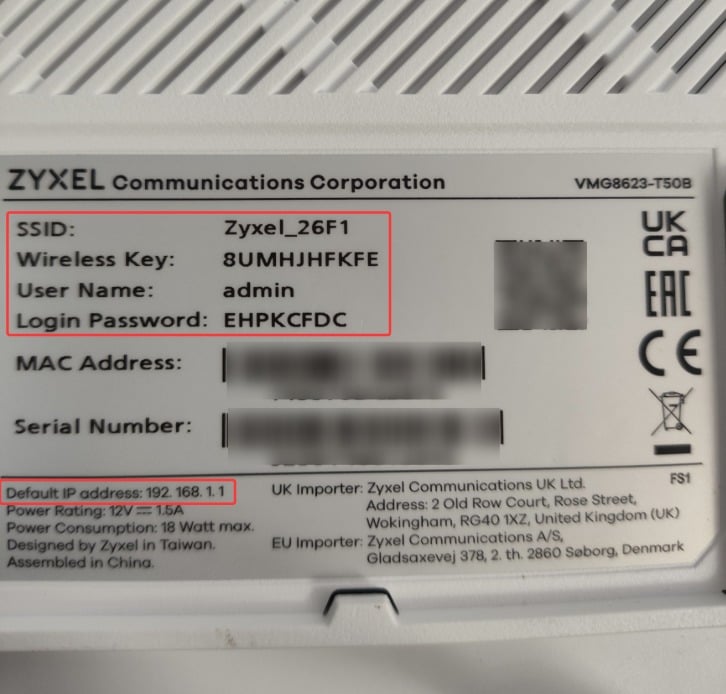
2. Check the correct router login IP address. Most Zyxel routers use 192.168.1.1, but some ISP-customized models may use 192.168.1.254, 192.168.168.1, or other IP addresses. If 192.168.1.1 doesn’t work, check the label on the router or look up the Default Gateway / Router / Gateway in your network settings to confirm the correct login IP.
Example: Zyxel router login at 192.168.1.1
Example: Zyxel router login at 192.168.1.254

Example: Zyxel router login at 192.168.168.1

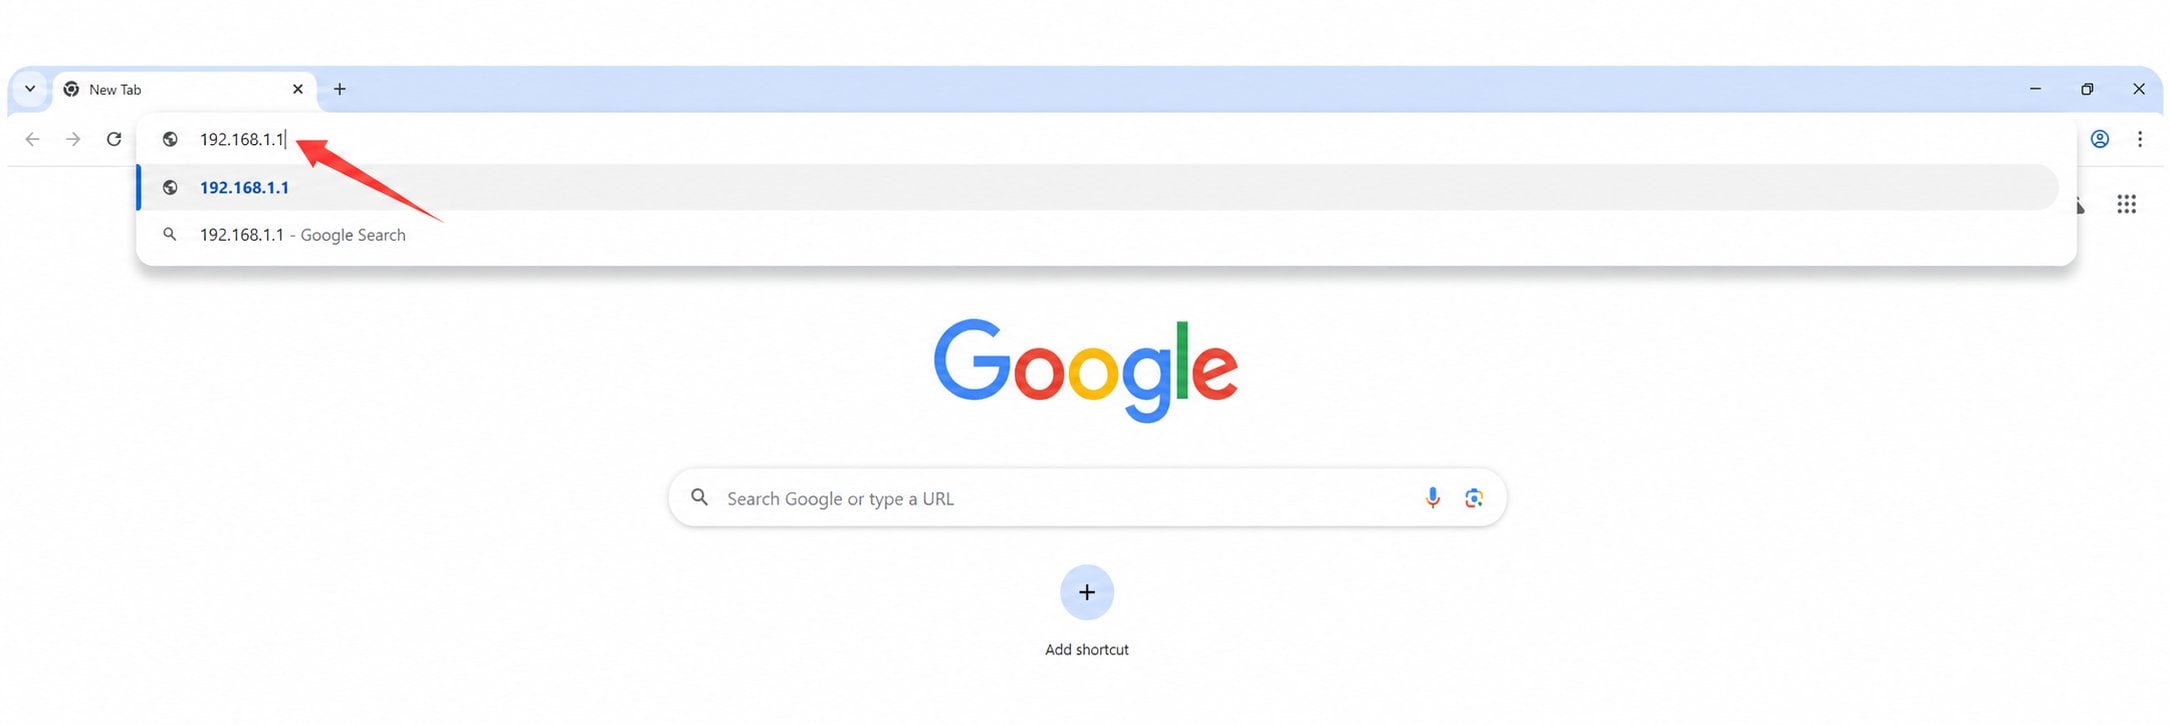
3. Open a web browser (Chrome, Edge, Safari, etc.), type 192.168.1.1 into the address bar, and press Enter.
Make sure you enter the IP in the address bar, not the search box. Avoid typos such as 192.168.l.l, 192 168 1 1, 191.168.1.1, 192168181, 192.168.1, or https 192 168 1.1—otherwise, the login page can’t be reached.
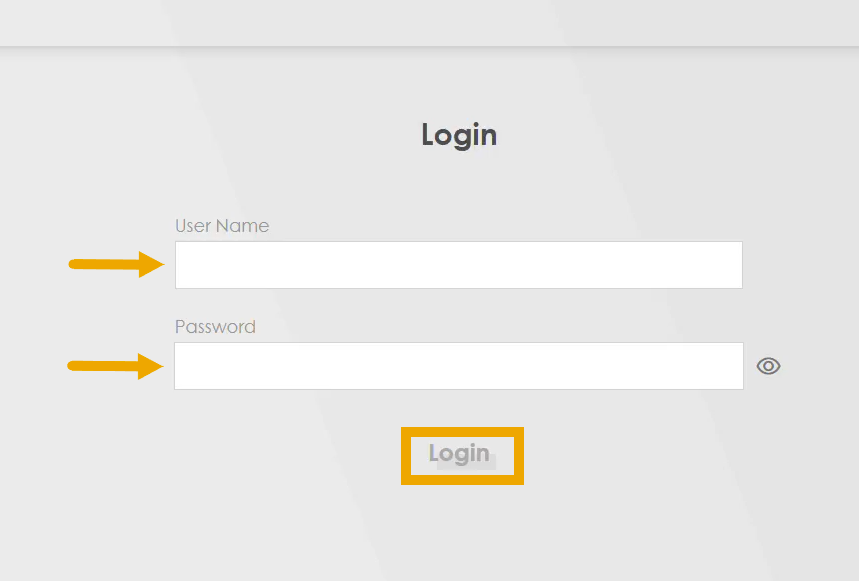
4. When the login page appears, enter the admin username and password. The default username is usually admin, and the password is listed on the label on the back of the router.
If you’ve changed the login credentials before, use your updated username and password.
If you’ve forgotten the password, press and hold the Reset button for about 10 seconds to restore factory settings, then log in again using the default credentials.
5. Once you’re logged in, you’ll be taken to the Zyxel Web Configurator (admin interface). The layout may vary by model—newer VMG/EX/DX series typically use a card-style dashboard, while older P-660 models use a traditional menu on the left. From here, you can manage your WiFi settings, network configuration, and connected devices.


