192.168.1.1 is one of the default IP addresses commonly used to access the admin panel on Aztech routers. It’s the main router login portal where you can manage your network, change your WiFi name and password, and view connected devices.
Depending on the model or ISP customization, some Aztech routers may also use 192.168.0.1, 192.168.2.1, or 192.168.1.254 as the router login IP address.
Here’s how to access the Aztech router admin page.
192.168.1.1 Aztech Router Login
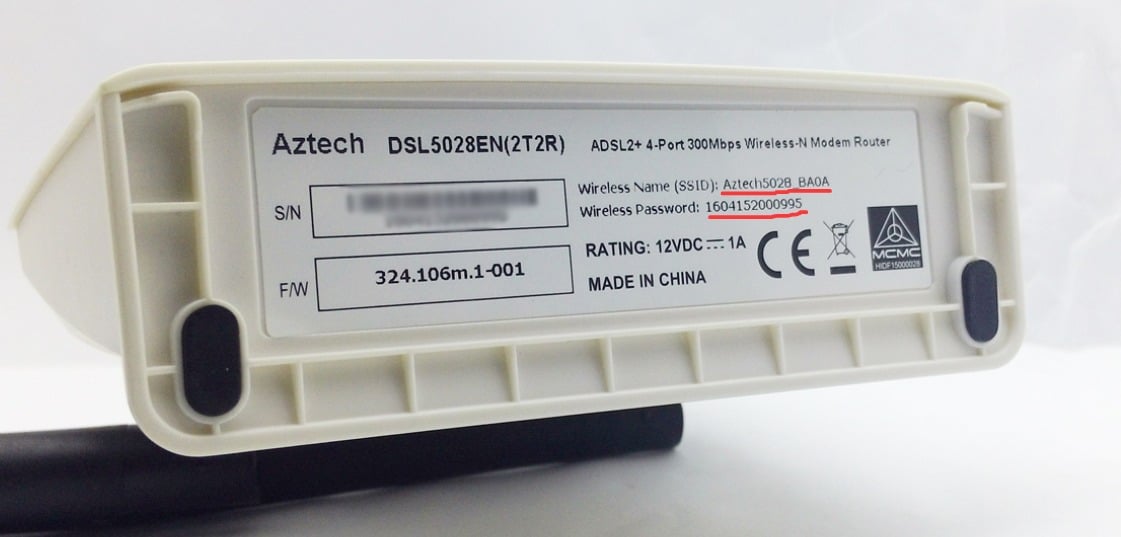
1. Flip your Aztech router over and check the label on the bottom or back. You’ll usually find the router login IP (such as 192.168.1.1), along with the default admin username and password.
Note: If the label is worn out or the login IP has been changed, you can find the current gateway address using the steps below:
On your phone: Go to WiFi settings → tap the connected network → view details → check the “Router” or “Gateway” address.
On a Windows PC: Press Win + R → type cmd → press Enter → type ipconfig → look for “Default Gateway”.
The IP address listed after “Default Gateway” is your actual router login address.
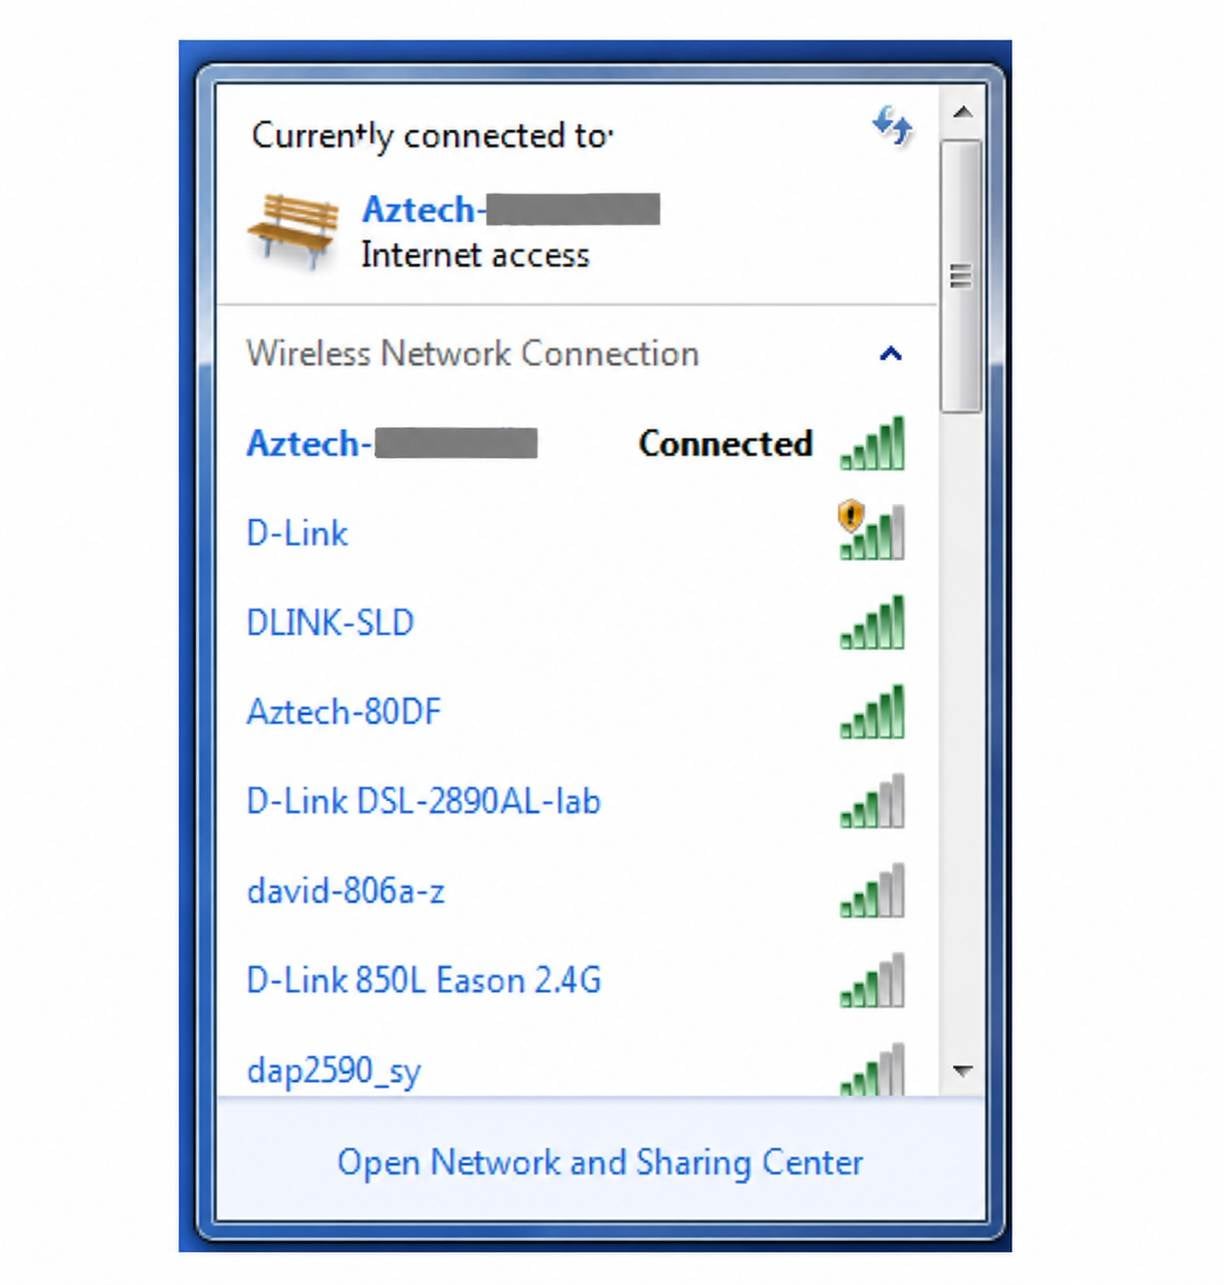
2. Open the WiFi settings on your phone or computer and connect to your Aztech router’s network (the WiFi name usually starts with Aztech_XXXX). If you’re using a computer, you can also connect directly to the router’s LAN port with an Ethernet cable.
Important: Your device must be connected to the same network as the router, otherwise you won’t be able to access the router login page.
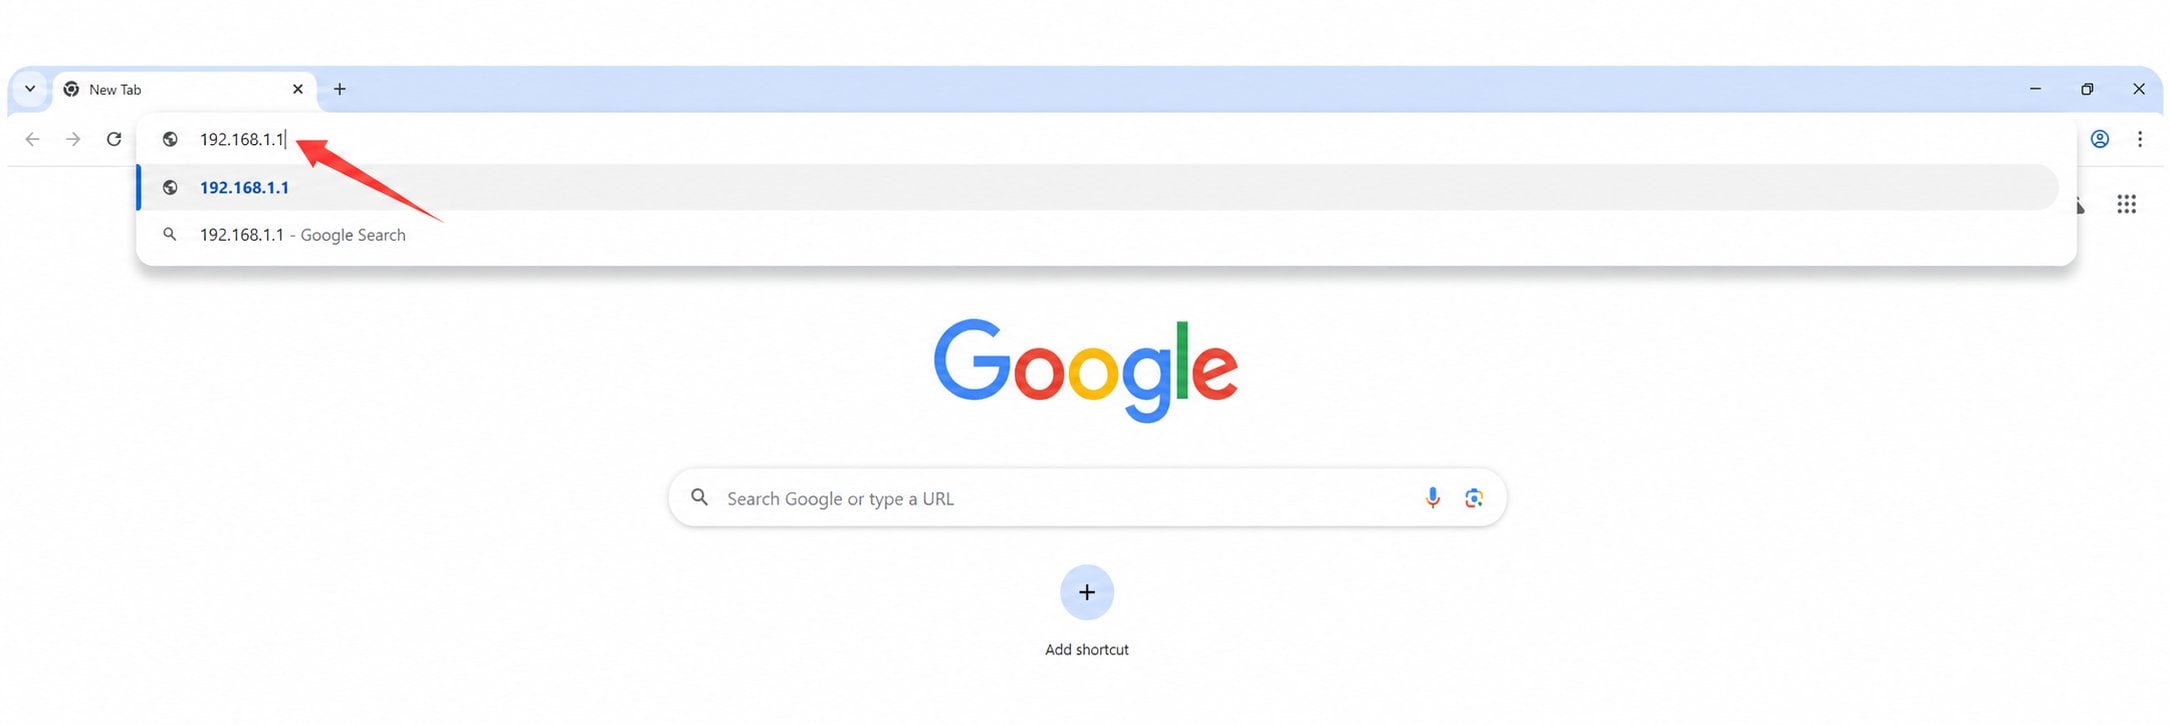
3. Open a web browser (such as Chrome, Safari, or Edge), type 192.168.1.1 or http://192.168.1.1 into the address bar, and press Enter.
Note: Make sure you enter the address in the browser’s address bar—not the search box. Avoid common mistakes like www.192.168.1.1, 192.168.l.l, 191.168 1.1, 191.1681.1, or https 192 168 1.1, as these may cause you to be unable to access the login page.
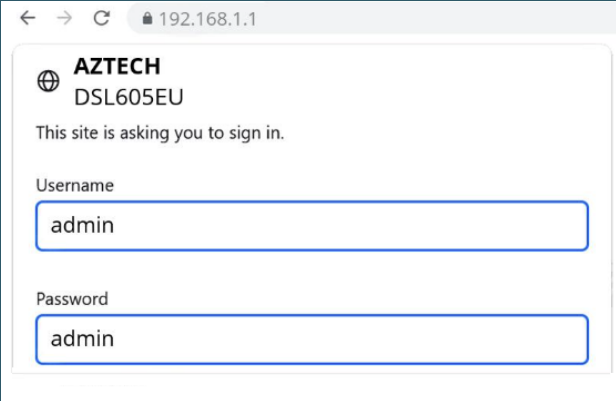
4. When the login page loads, enter the admin username and password. The default Aztech login credentials are usually:
Username: admin
Password: admin (some models may use password)
If you’ve changed the login details before, use your updated username and password.
5. Click “Login” or “OK” to access the router admin panel. From there, you can update WiFi settings, configure your network, and manage connected devices.


