In our daily lives, we may need to change the Wi-Fi password, adjust network settings, or perform other configurations on our router. To do this, you need to access the router's settings page. Today, I'll share how to directly enter the router settings interface using the IP address 192.168.1.1.
Steps to Access the Router Settings via 192.168.1.1
1. Only devices connected to the router can access its settings interface. So, you need to connect your computer or phone to the router's network first.
For computers: If you're using a desktop computer, you'll need to connect it to the router's LAN port with an Ethernet cable. If you're using a laptop, you can either connect it via an Ethernet cable to the LAN port or connect to the router's Wi-Fi network.
For phones: In your phone's Wi-Fi settings, search for the router’s Wi-Fi network and enter the password to connect. If you're setting up the router for the first time or it's been reset to factory settings, you'll need to connect to the router's default Wi-Fi network. You can find the default Wi-Fi name and password on a label at the bottom of the router.
2. After the device is connected to the router, open any web browser (such as Chrome, Edge, Safari, Baidu, QQ, etc.), and in the browser's address bar, type the router’s IP address: 192.168.1.1, then press Enter.
Tip: Make sure that your router’s IP address is indeed 192.168.1.1. If it’s not, the login page won’t open. Click to learn: How to Find Your Router's IP Address.
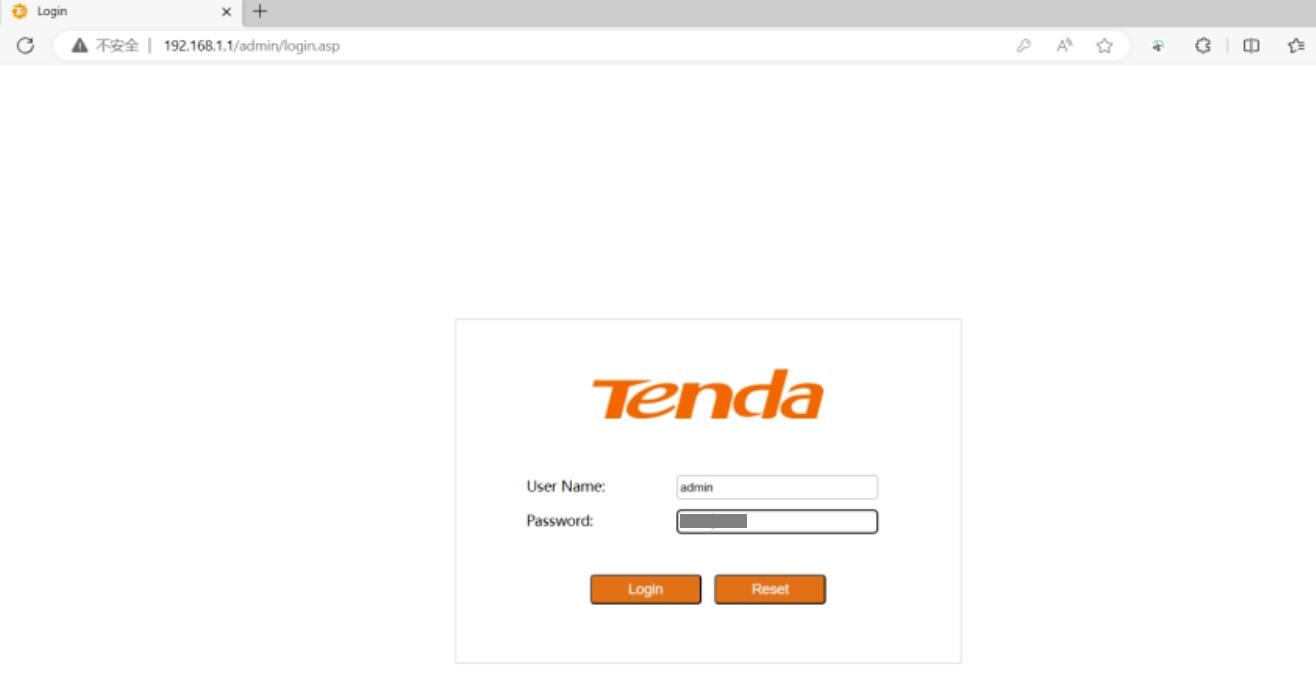
3. Once the login page appears, the system will prompt you to enter a username and password. Many routers use "admin" as the default username and either "admin" or "password" as the default password. If you’ve changed these details before, enter your custom username and password.
4. After successfully logging in, you'll be directed to the router's settings page, where you can make various network adjustments, such as changing the Wi-Fi name and password, setting up security options, and more.