How to Choose the Best Channel to Boost Your Router's Wi-Fi Performance?

Wi-Fi has become an essential tool in modern households and workplaces, but we often encounter network problems such as weak signals, slow speed, and network interference. These problems may be due to the selection of inappropriate Wi-Fi channels. This article will provide Q&A to help you understand channels and learn how to select the best channel to improve your Wi-Fi performance and experience.
Q1: What is the Wi-Fi channel of a router?
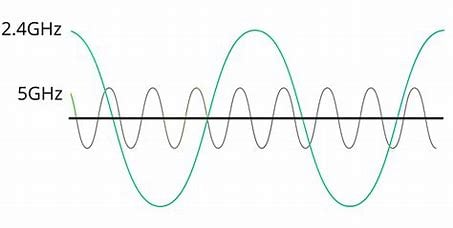
A1: The Wi-Fi channel is a specific frequency range available for data transmission in a wireless network. In a wireless network, routers use specific frequency bands to communicate with devices, which are called channels. They are typically used to send data from the router to connected devices such as computers, smartphones, and tablets.

Q3: Why do we need to select an appropriate Wi-Fi channel?
A3: Routers usually automatically select the best channel, but in some cases, manually selecting a channel may improve wireless network performance. For example, when too many devices are connected to the same channel, the signal may become congested, and selecting a less crowded channel may improve Wi-Fi speed and stability. In addition, Wi-Fi signals may also be interfered with by other devices, such as Bluetooth devices, microwaves, radios, etc., which may cause signal quality to deteriorate. Therefore, selecting a Wi-Fi channel with less interference can effectively improve wireless network speed and stability.
Q5: How to change the Wi-Fi channel of a router?
A5: You can change your router’s Wi-Fi channel by logging into the router’s management interface. Here’s a step-by-step guide:
- Connect to the router: Use Wi-Fi or a wired connection to connect your computer or phone to the router.
- Open a web browser and enter the router’s IP address: On your device, open a browser such as Edge, Chrome, or Safari. In the address bar, enter the router’s IP address—usually "192.168.1.1" or "192.168.0.1." This can vary depending on your router model. You can find the correct address on a label at the bottom of the router, in the user manual, or on the manufacturer’s website.
- Log in to the router’s admin panel: Enter the username and password to access the router’s settings interface.
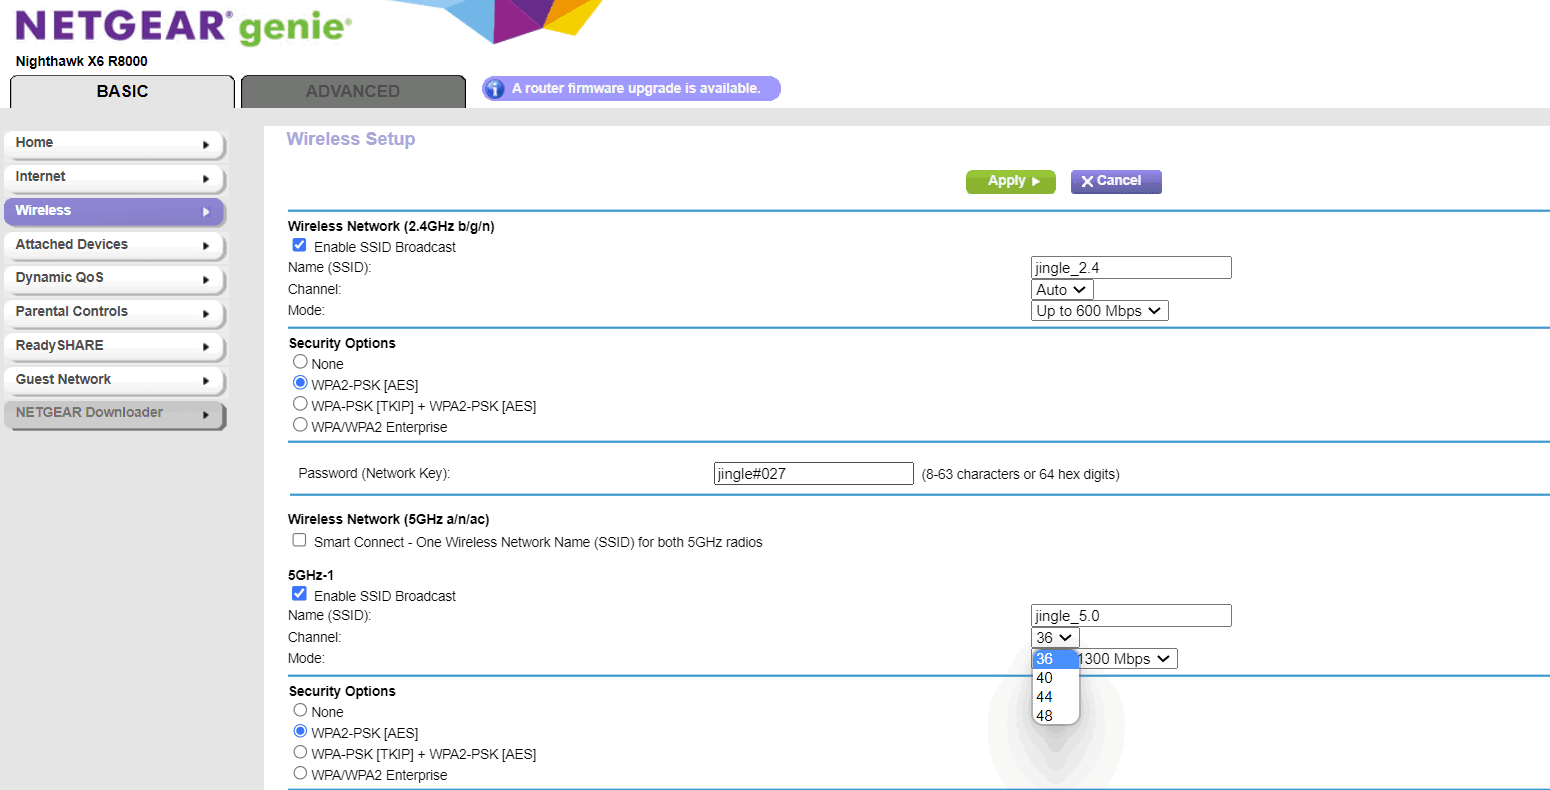
- Open the Wi-Fi settings page: In the admin interface, navigate to the Wi-Fi settings section. This is usually found under a tab labeled “Wireless” or “Wi-Fi.”
- Change the Wi-Fi channel: On the Wi-Fi settings page, look for the channel selection option. Each channel has a number. By default, the router may be set to “Auto,” but you can manually select a channel to improve network performance. For the 2.4GHz band, the most commonly recommended non-overlapping channels are 1, 6, and 11 in most countries. In some regions like the EU, people also use channel 1, 5, 9, and 13 to reduce interference. For the 5GHz band, because the channels are spaced further apart, overlapping is less of a concern. Common non-overlapping channels include: 36, 40, 44, 48, 149, 153, 157, 161, and 165. It’s best to select your channel based on your region’s regulations and what your devices support, so you can enjoy the most stable wireless experience.
- Save your settings: After choosing a new Wi-Fi channel, make sure to save your changes. Click the “Apply” or “Save” button. Some routers may need to restart to apply the new settings.