
If you're attempting to log into your router or screen sharing device using "192.168.49.I," you might find yourself facing a dead end, as typing this into your browser won't lead to the login page. The confusion often arises from mistaking the lowercase "l" for the number "1." The correct IP address you should be using is 192.168.49.1.
About 192.168.49.1
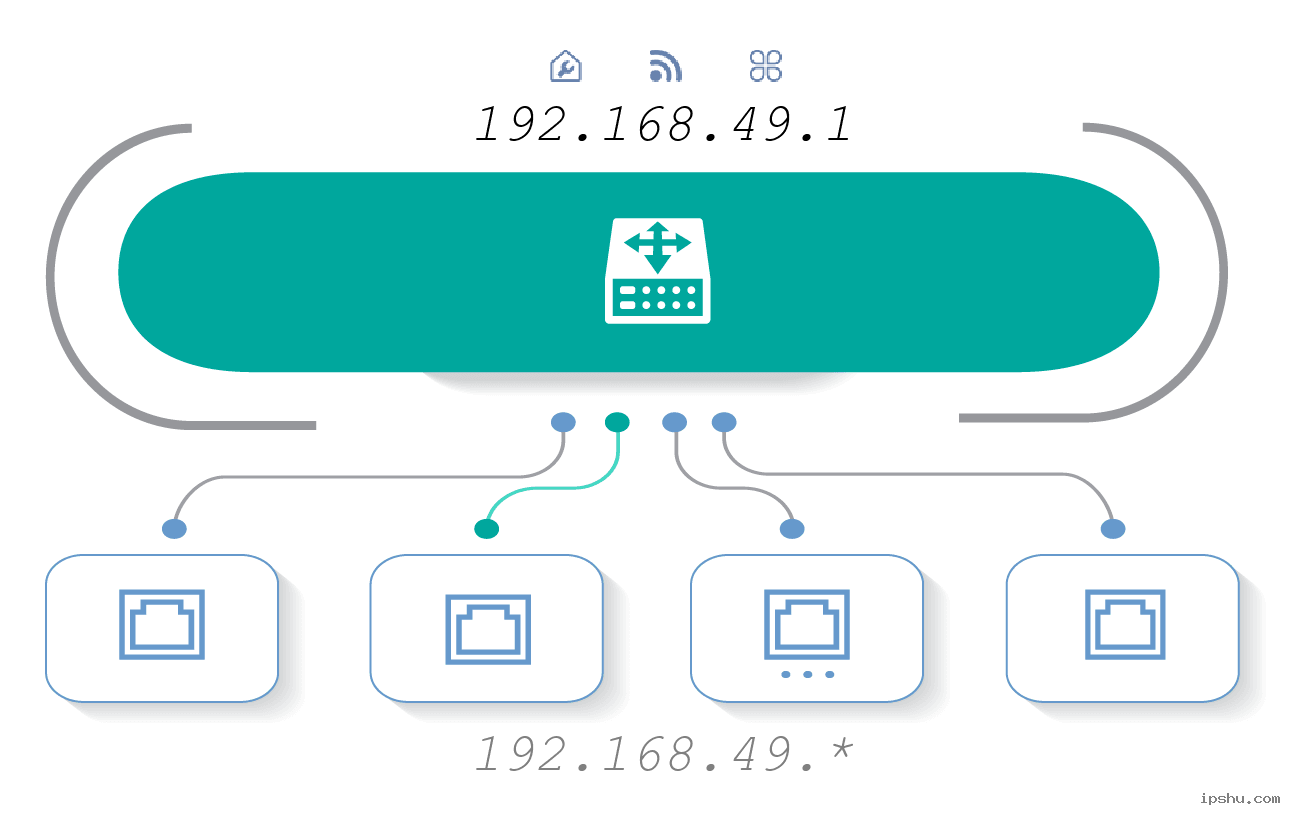
It's crucial to recognize that 192.168.49.1 is a class C private IP address, residing within the 192.168.0.0 to 192.168.255.255 range. These addresses are typically used within private networks, such as those in homes or small offices, and not on the public internet. This IP is commonly designated as the default gateway for network devices, allowing users to access the admin panel for configurations.
Setting Up Wireless Router Using 192.168.49.1
- Device Connection: Link your computer or laptop to the router via Wi-Fi or an Ethernet cable.
- Open a Web Browser: Launch a preferred web browser like Google Chrome, Mozilla Firefox, or UC Browser.
- Enter the IP Address: Type 192.168.49.1 into the browser's address bar, not 192.168.49.I, and hit Enter to reach the router's login page.
- Admin Interface: Log in with the administrator username and password, often defaulting to "admin/admin" or "admin/password" (found on the router's label).
- Settings Configuration: Once logged in, adjust settings such as the Wi-Fi name (SSID), password, and admin password as needed.

Setting Up Screen Sharing Device Using 192.168.49.1
- Ensure Connection: Connect the screen sharing device to a TV or monitor via HDMI and ensure it's on the same Wi-Fi network as the casting device.
- Admin Interface: Navigate to 192.168.49.1 in your device's browser (avoiding 192.168.49.I) and log in using the admin password, typically "admin" or left blank.
- Network Settings: Find and adjust network settings to fit your setup, including Wi-Fi credentials.
- Configure Sharing Screen: Enable and configure sharing options like mirror mode or extension mode for different viewing experiences.
- Device Connection: On your computer or mobile, activate the screen mirroring feature and connect to the mirroring device listed.
- Begin Sharing Screen: Successful connection allows your device's screen content to display on the connected TV or monitor.


