
192.168.1.128 is a private IP address, part of the class C address range 192.168.0.0/16, commonly used for router management in home or office networks. The IP address 192.168.1.128 usually points to a device within the local network, such as a computer, smartphone, a smart speaker, etc. It serves as the gateway for the internal network to connect to the external internet. Users can access and configure the router settings through this address.
192.168.1.128 Administrator Login
1. Confirm the Router IP Address
First, ensure your router’s default gateway IP address is indeed 192.168.1.128. You can confirm this with the following steps:
- On a Windows computer, press Win+R, type “cmd” and press Enter to open the Command Prompt.
- In the Command Prompt, type “ipconfig” and press Enter.
- Locate the “Default Gateway” entry to confirm if the IP address is 192.168.1.128.
2. Connect to the Router
Make sure your device (computer, phone, or tablet) is connected to the router, either via Wi-Fi or an Ethernet cable. Once connected, your device will typically display a connection success indicator, such as a Wi-Fi icon on your phone or computer. You can also open your device’s network settings page to ensure it has successfully obtained an IP address, indicating a successful connection to the router.
Wi-Fi Connection:
- Open your device’s Wi-Fi settings.
- Find your router’s Wi-Fi name (also known as SSID) in the list of available networks.
- Click on your router’s Wi-Fi name and enter the password.
- Wait a few seconds until your device successfully connects to the router’s Wi-Fi network.
Wired Connection:
- Use an Ethernet cable to connect one end to your device’s network port (usually on the side or back of the device) and the other end to the router’s LAN port (usually on the back of the router).
- In most cases, no additional settings are required to automatically connect.
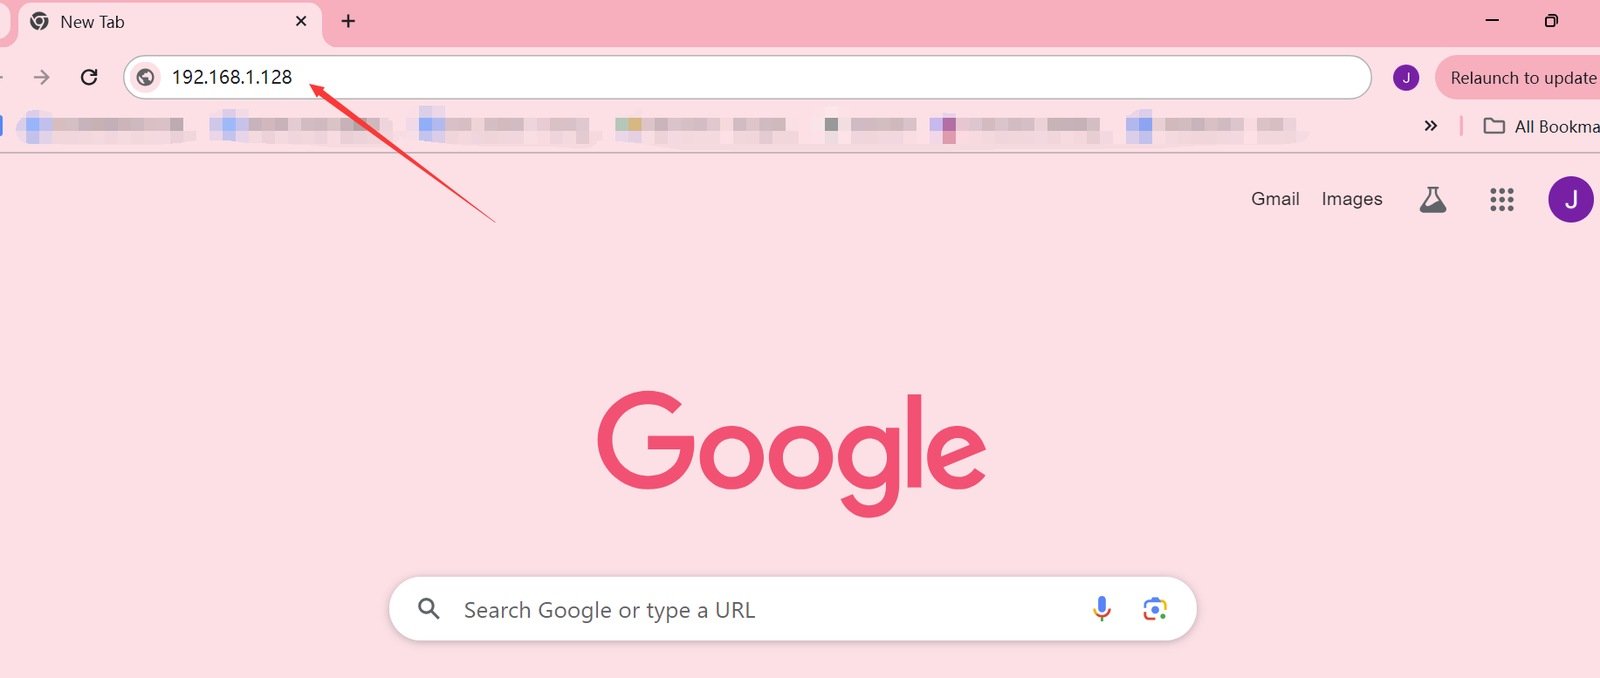
3. Access the Login Page
Open a web browser on your device, such as Chrome, Firefox, or Safari. In the browser’s address bar, type “http://192.168.1.128” and press Enter. If you have modified the port number, you need to enter the complete address, such as http://192.168.1.128:8080. The browser will start loading the page and automatically navigate to the router’s login page corresponding to 192.168.1.128.
4. Enter Login Credentials
On the login page, enter the router’s admin username and password, then click the login button. The default login credentials can usually be found on a label on the back of the router or in the router’s user manual. Typically, the username is “admin,” and the password may be blank or “admin.” If you have previously changed the login credentials, use the updated username and password.
5. Access the Admin Interface
Upon successful login, you will enter the router’s admin interface. Here, you can view and modify various router settings such as the wireless password, network name, connected devices, and more.
- Set Wireless Password: Protect your wireless network to prevent unauthorized connections. Make sure to use a strong password.
- Set Network Name: Choose a unique network name to easily identify your Wi-Fi network. To prevent unauthorized access, you can also disable SSID broadcasting.
- Manage Connected Devices: Use options like “MAC address filtering” or “Wireless Access Control” to control which devices can connect to your wireless network.


