
Nowadays, the application of proxy service has been very popular used on Internet. Using proxy IP can not only hide the user's real IP address and reduce the possibility of network intrusion and attack, but also improve your network speed, reduce the network delay, and crack the registration and login restrictions under the same IP of some websites.
If you don't want to spend time and effort seeking a free proxy server, then a paid proxy server is a good choice for you. Moreover, the stability of paid proxy IP is higher than that of free proxy IP. Currently, the charging ways of various proxy IP service providers in the market are different. For example, some are charged based on traffic, some are based on usage time, and some are based on the number of IPs used. You can choose a proper proxy by yourself. The following takes Shadowsocks as an example to explain how to use it.
The total time required: 1 Hour
Supply consumed:
- Pay method
Tool used:
- Computer for operation
- Mobile phone for testing
Purchase a proxy IP
① Seek a Shadowsocks service provider to buy an account. Generally, there will be a variety of package options. For example, Just My Socks offers 3 packages:
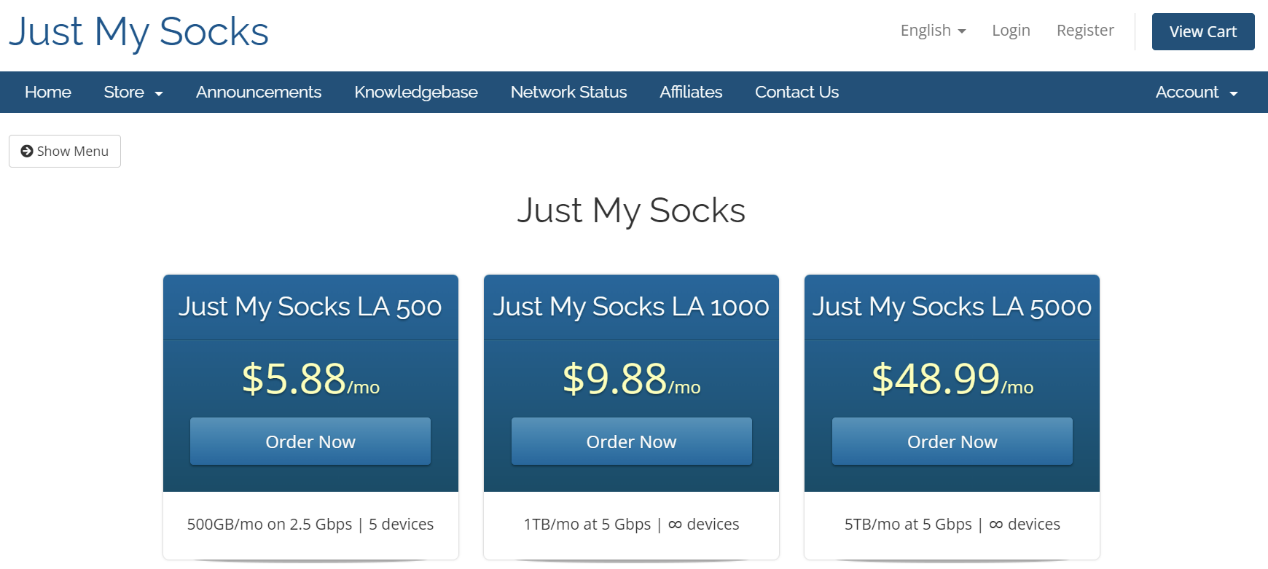
- USD$5.88 monthly/500GB/on 2.5 Gbps/5 devices
- USD$9.88 monthly/1TB/ at 5 Gbps/8 devices
- USD$48.99 monthly/5TB/ at 5 Gbps /8 devices
For individual users, it is recommended to choose JMS 500GB.
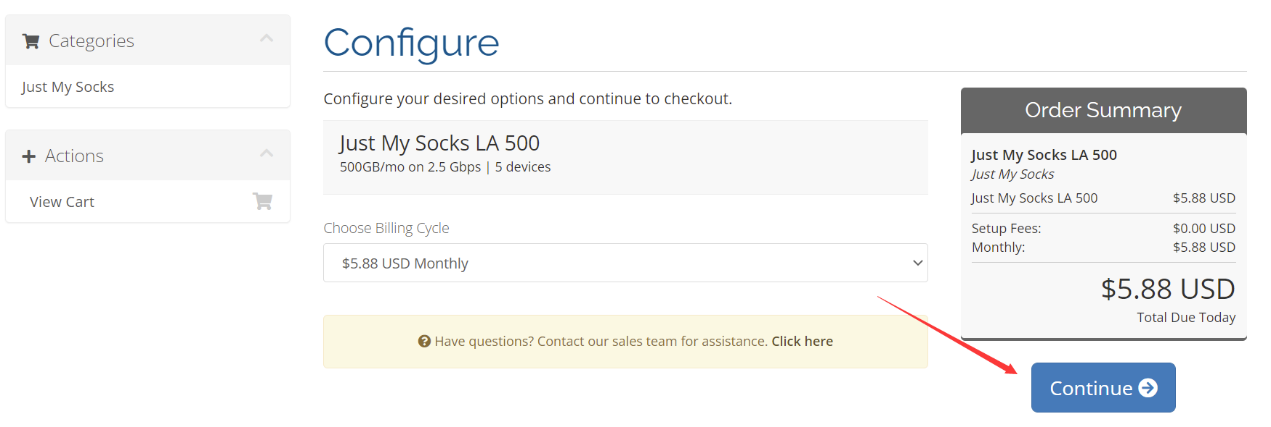
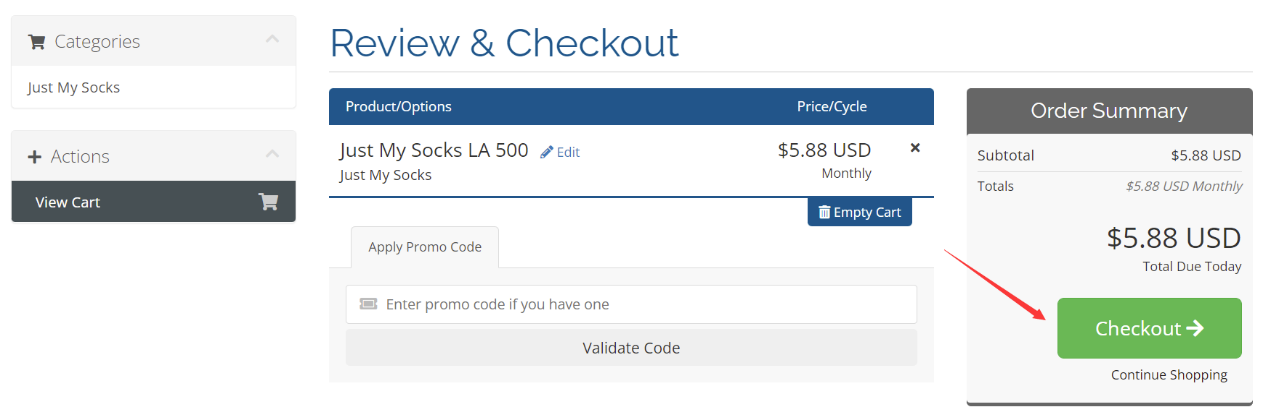
② Select billing cycle and add it to the shopping cart. You can choose monthly, quarterly, semi-annually or annually. Here take monthly payment as an example.
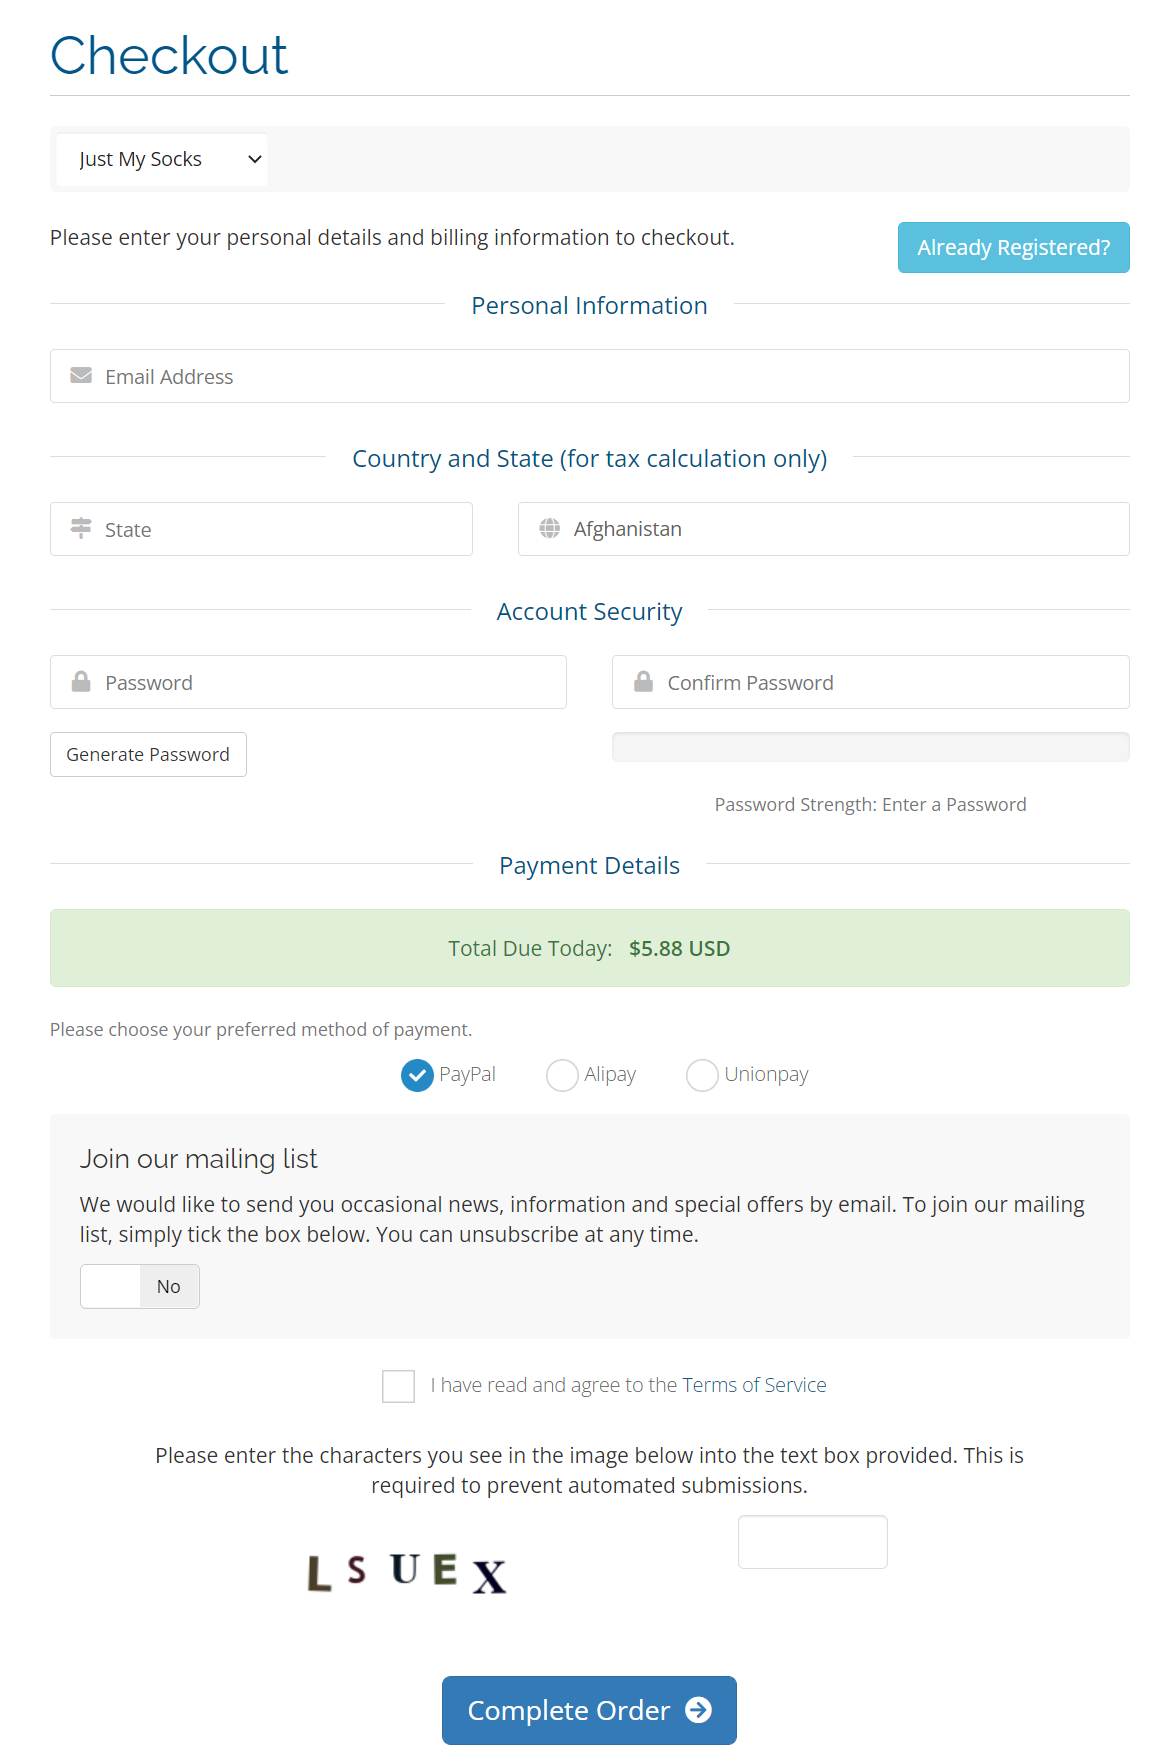
④ Enter your personal details and billing information, select payment method, and complete the order.
⑤ After checkout, you'll be redirected to go back to the homepage of the JMS website which means the Shadowsocks account is purchased successfully. Then click "My Services" to check the account you just purchased.

⑥ Click the purchased account to enter the corresponding host, and you can see the information of the purchased proxy server.

Configure Shadowsocks
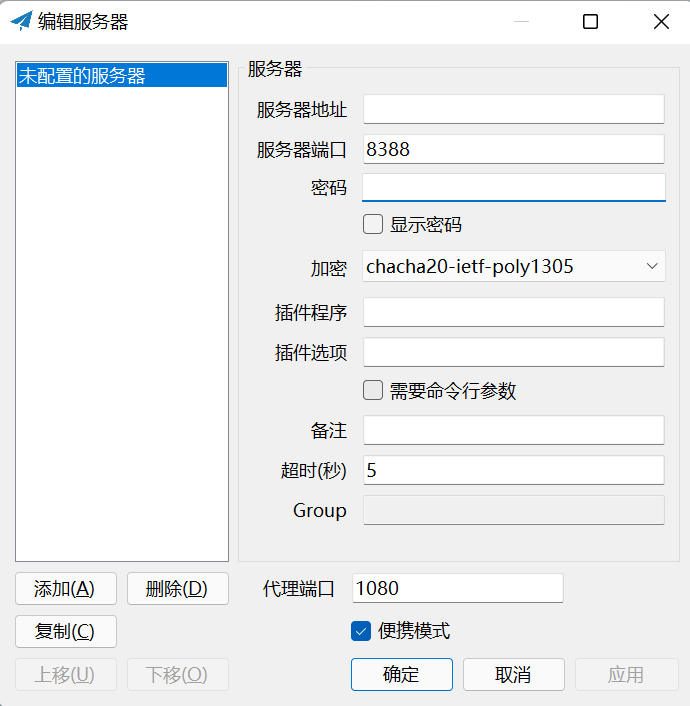
① Open Shadowsocks, the main interface is as shown in the figure:
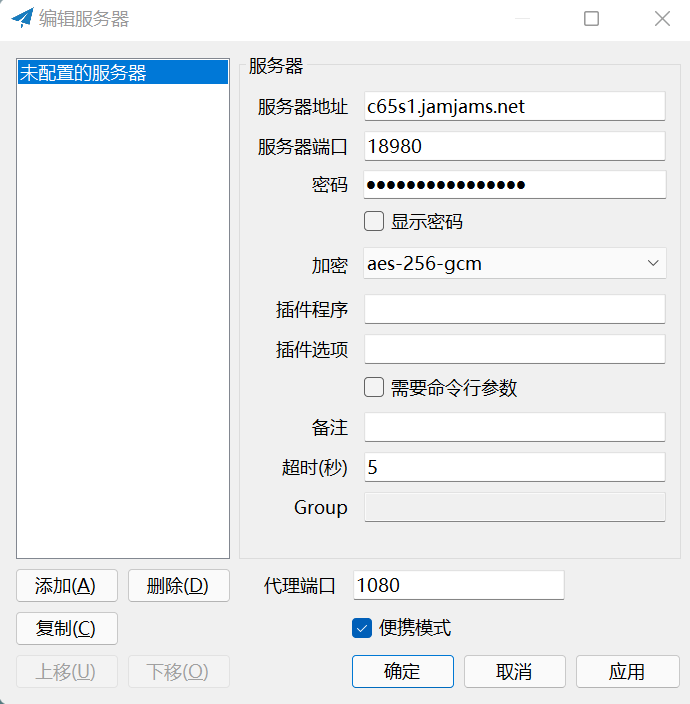
② Configure the server. Enter the purchased proxy server information, including server address, port, password, encryption method. after adding the line, click OK to save it.
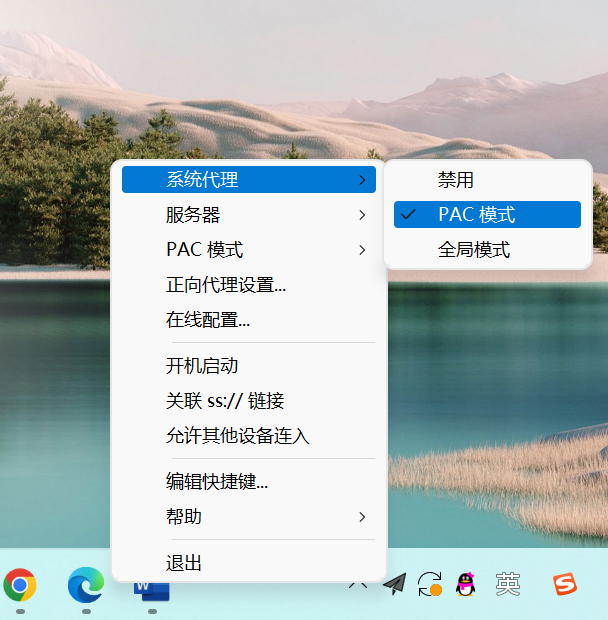
③ Finally, right-click the "Shadowsocks" icon, select "System Proxy" → "PAC Mode". If you are a regular visitor of overseas websites, it is recommended to open "power on start automatically". So far, your Shadowsocks is successfully configured, and you can open your browser to visit overseas websites for verification.
Note: There are many proxy IP services on the market, but the quality varies. You should choose it according to your needs, and don't blindly follow the trend. It is recommended to choose a relatively fast, safe, cost-effective, well-known proxy service, and pay attention to the frequency of IP line change.
In addition, this article is only used to guide the search for study resources and business information, please do not use a proxy IP to access illegal websites.

Is it possible to use mixed DNS servers?
If you want to mix different DNS servers, it is also possible. For example, use ISP's DNS as the primary DNS
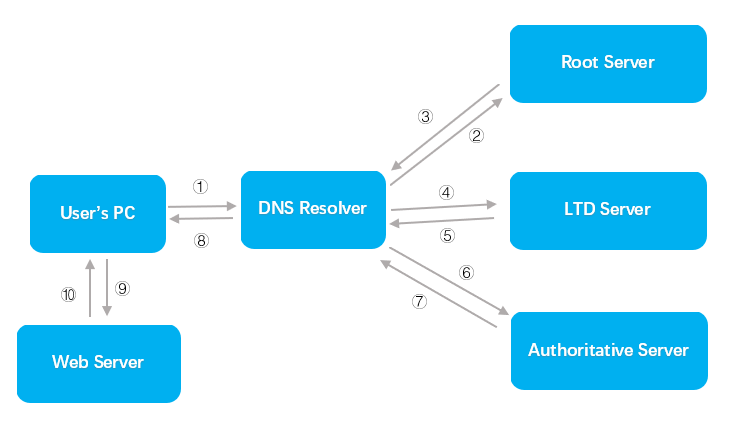
What's DNS service and DNS server?
For example, .cn, .uk, .us, .de, .jp, etc.
- 2023-01-09 10:58:11
- Instruction

192.168.0.101 How to Log in to the Router Using a Mobile Phone or Computer?
How to Log in to a Router Using 192.168.0.101?Important NotesMany router manufacturers utilize 192.168.0.101 as the default login IP a
- 2024-05-16 14:44:01
- Information


